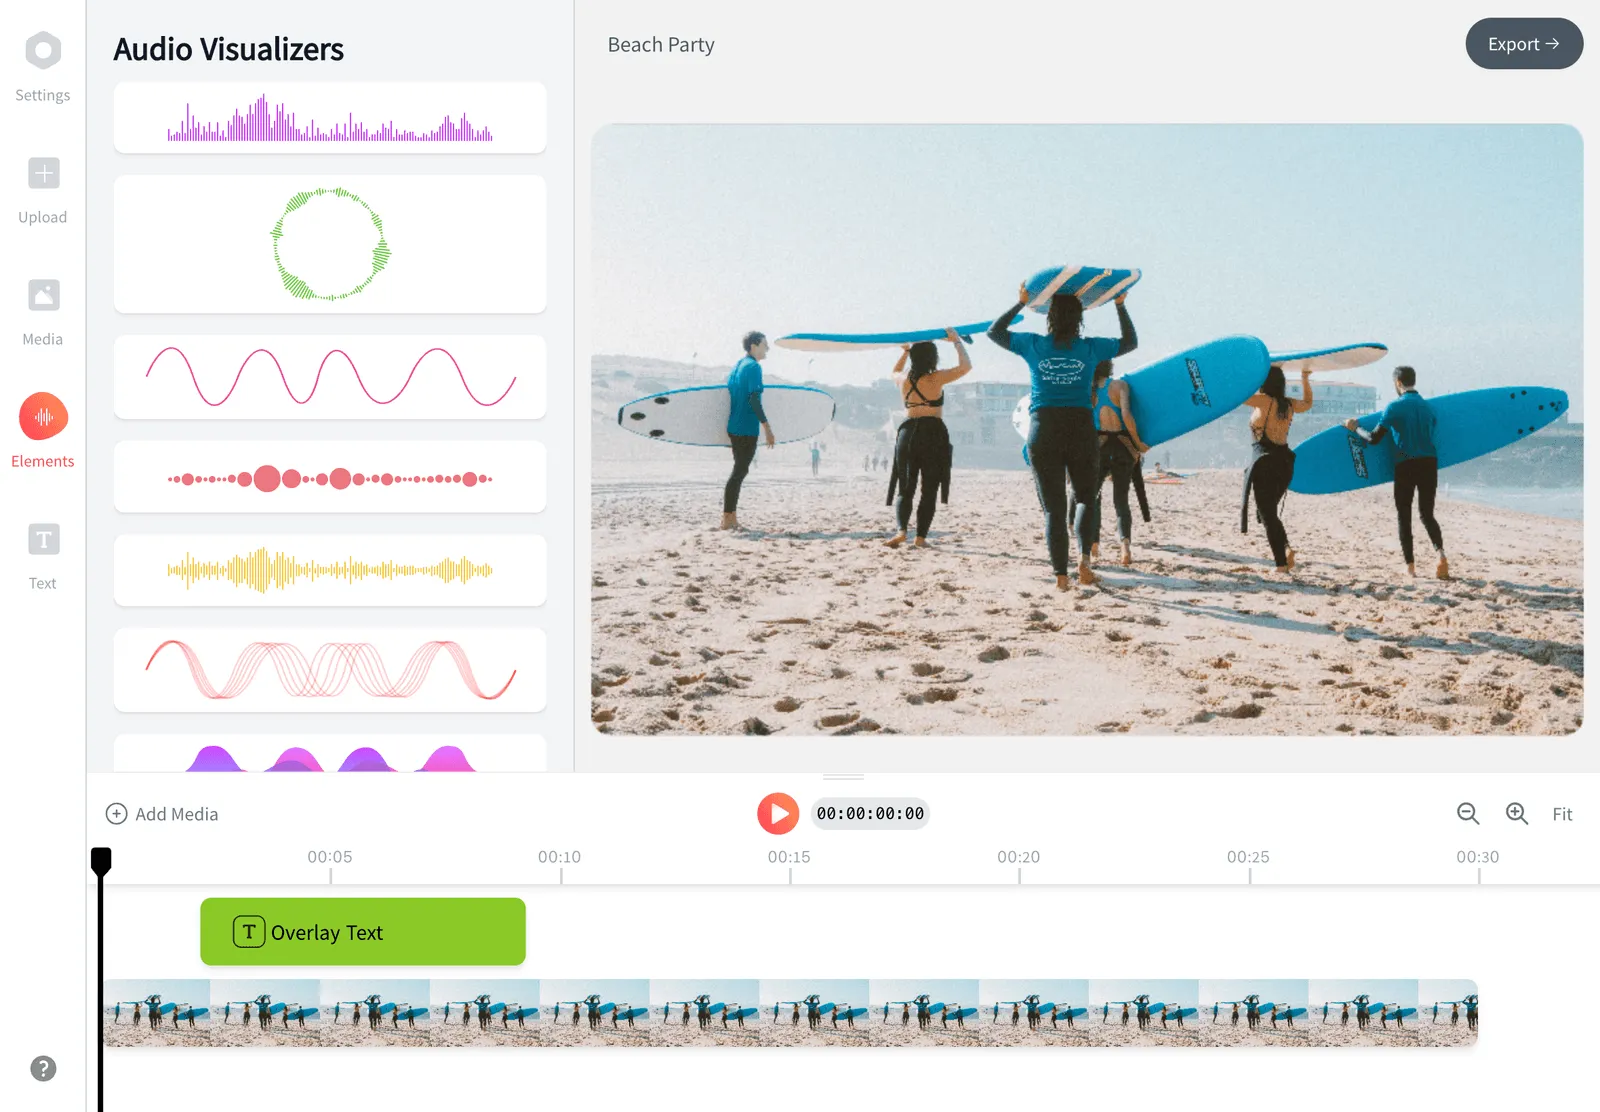
Add Subtitles to Video Online
Generate subtitles from the speech, upload an SRT or VTT file, or type them yourself. Fix the words, style the captions, and export an MP4 with the subtitles burned in. Free in your browser.


Add Subtitles to Video Online Features
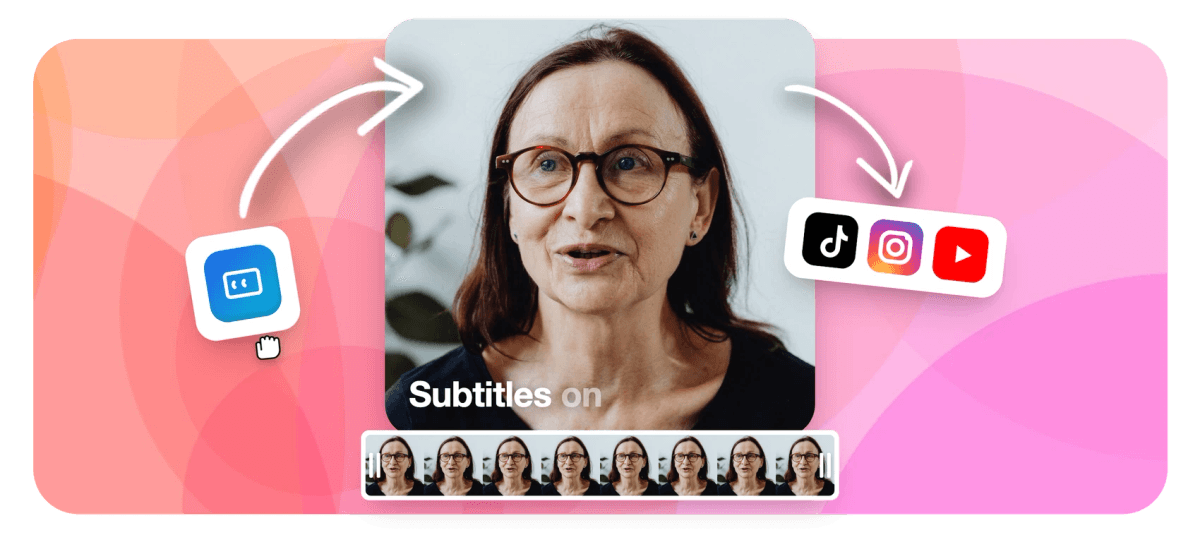
To add subtitles to a video online for free, upload the clip to EchoWave, click Auto-Subtitle to turn the speech into timed caption lines, correct any words, pick a caption style, and export. If you already have a subtitle file, add the SRT to your video instead of transcribing, or type the lines by hand when there is no speech to transcribe.
Subtitles follow the speech. For a title, a label or a call to action that is not dialogue, add text to the video as a separate layer in the same editor.
Echowave is used by thousands of businesses around the world




How to add subtitles to a video
Three steps, from upload to a captioned MP4:
-
1. Upload your video
Open EchoWave in your browser and drag your video onto the page, or pick it from your device. MP4, MOV, WebM, MKV and AVI files all open, so you can caption a phone clip, a screen recording or an export from another editor.

-
2. Generate, upload or type the subtitles
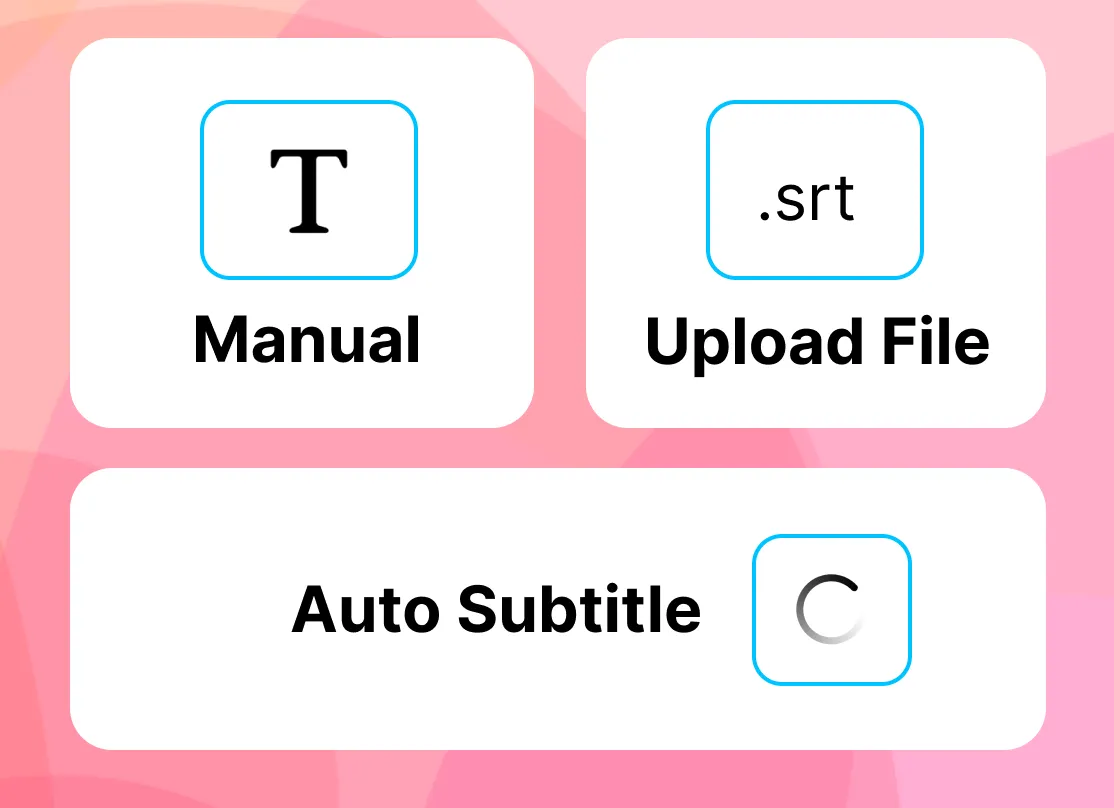
Click Auto-Subtitle and the speech becomes timed caption lines with word-level timing. Prefer your own text? Upload an SRT or VTT file, or type the lines. Then fix any word, nudge a cue that lands early or late, and set the font, color, size and position.
-
3. Export the subtitled video
Export an MP4 with the subtitles burned into the picture, ready for YouTube, TikTok, Reels or a website. Free exports are 720p with a small EchoWave badge; Creator, Pro and Ultra remove the badge and export up to 1080p, 4K or 8K.

What creators say after trying EchoWave
How to add subtitles to a video on iPhone, Android, or a computer
EchoWave runs in the browser, so the route is the same on every device. There is no app to install.
- Open echowave.io in Safari, Chrome, Edge or Firefox and tap Upload Video.
- Add your video from the camera roll, gallery or a folder.
- Create the subtitles. Tap Auto-Subtitle, upload an SRT or VTT file, or type the lines.
- Fix the wording and timing. Correct misheard names, split a long line, merge two short ones, and move a cue a few frames until it lands with the voice.
- Style and export. Choose a caption style, drag the text where it reads best, and export the MP4 back to your device.
On iPhone or iPad
Open echowave.io in Safari, choose the clip from Photos, and edit the lines with the on-screen keyboard. The exported MP4 saves to your phone, ready to post.
On Android
Use Chrome or any current mobile browser. Upload from the gallery, caption the clip, and export a vertical MP4 for TikTok, Reels or Shorts.
On Windows, Mac or Chromebook
Follow the same five steps in a desktop browser. The bigger screen gives you a wider timeline, which makes retiming cues and placing captions quicker.
AI subtitle generator: add subtitles automatically
The built-in AI subtitle generator, Auto-Subtitle, listens to the audio track, detects the spoken language, and writes caption lines with a timestamp on every word. It then splits the transcript into short cues that appear and disappear with the speech, which is the difference between a transcript and subtitles you can read. Auto-Subtitle transcribes speech in 50+ languages, and translation covers 86 on a paid plan.
The AI subtitle generator is free to use: generating the subtitles, correcting them and burning them into the video cost nothing, and free exports are 720p with a small EchoWave badge. Downloading the subtitles as a separate SRT or VTT file is part of a paid plan.
What affects the result
Clear speech recorded close to the mic gives the cleanest first draft. Loud music under the voice, people talking over each other, and unusual names or jargon all mean more words to correct, as with any speech recognition. Every line stays editable, so a misheard word takes a few seconds to fix.
Word timing makes the styling possible
Because each word carries its own time, the editor can highlight words one at a time for karaoke-style captions and keep everything in sync after you change the wording. For a dedicated walkthrough of styled auto captions, see the caption generator.
Most feed video plays on mute
Translate your subtitles into other languages
Once the speech is transcribed, the subtitle translator turns the caption track into another language and keeps the original timing, so you only review the wording. You can also show both languages at once, with the translated line under the original in the same caption box. Translation is part of a paid plan.
The same flow works for incoming footage: transcribe an interview or lecture in its original language, translate the lines into English, and check them before you export.
Style and animate your captions
Pick from 176 caption styles, then change anything: font, size, fill and outline color, a backing box or shadow for busy footage, and the position on the frame.
Word-by-word and karaoke captions
Highlight each word as it is spoken, fill words in a karaoke wipe, or pop them in one at a time. These suit TikTok, Reels and Shorts; keep motion subtle for tutorials and explainers.
Keep captions clear of platform buttons
On vertical 9:16 video, keep captions out of the bottom third of the frame, where the caption text, sound label and buttons sit. On 1:1 and 16:9 the lower center band is usually safe.
Burned-in subtitles or a separate SRT file?
| Burned-in (hardcoded) | SRT or VTT file | |
|---|---|---|
| Where it shows | Always, on every player and re-upload | Only where the player supports caption tracks |
| Viewer can turn it off | No | Yes |
| Keeps your font, color and animation | Yes | No, the player draws plain text |
| Best for | TikTok, Reels, Shorts, ads, feeds | YouTube, Vimeo, course platforms |
Burned-in subtitles are drawn into the frames, so they show up everywhere. The hardcode subtitles page covers that route in detail. A separate file lets the viewer switch captions on or off; the SRT generator explains how to export one (SRT, VTT, TXT and JSON downloads are part of a paid plan).
Subtitles vs captions
Subtitles assume the viewer can hear and transcribe or translate the dialogue. Closed captions also note sound effects, music and who is speaking, for viewers who are deaf or hard of hearing. You can write either in EchoWave: type a sound cue like [door slams] on its own line where you need it.
Add subtitles to TikTok, Reels, YouTube and Facebook videos
TikTok, Instagram Reels and YouTube Shorts. Set the canvas to 9:16, burn the captions in, and keep them above the bottom third where each app puts its own caption text and buttons. Word-by-word styles hold attention on autoplay without sound.
YouTube. For a regular 16:9 upload you can burn captions in, or upload an SRT file in YouTube Studio so viewers can switch them on and off. YouTube reads that caption text, which gives it more to understand about the video.
Facebook and LinkedIn feeds. Feed video starts muted, so burned-in captions carry the message. A 1:1 or 4:5 canvas takes up more of the feed than 16:9.
Accessibility, lessons and training. Captions with speaker labels and sound cues let viewers who are deaf or hard of hearing follow along, and help learners read terms they have not heard before. For survey and research figures on who uses captions and why, see our caption and subtitle statistics.
Supported formats and devices
EchoWave opens the common video files you are likely to have: MP4 (H.264), MOV, WebM, MKV and AVI. Auto-Subtitle works from the audio track, so a clean voice recording gives the best first draft. Export at your source aspect ratio or switch to 9:16 for TikTok, Reels and Shorts, 1:1 for square posts, or 16:9 for YouTube.
The editor works in Chrome, Edge, Safari and Firefox on Windows, macOS, ChromeOS and Linux, and on iPhone, iPad and Android. Your projects stay private to your account.
How to add subtitles with FFmpeg
If you prefer the command line, FFmpeg can add an existing .srt file as a soft (toggleable) track:
ffmpeg -i input.mp4 -i subtitles.srt -c copy -c:s mov_text output.mp4
To burn the subtitles into the frames instead, use the subtitles filter:
ffmpeg -i input.mp4 -vf subtitles=subtitles.srt output.mp4
FFmpeg has no preview, no styling and no transcription, so you still need the subtitle file first.
Comparing caption tools? See our Submagic alternatives and Captions app alternatives guides.

About the EchoWave team
EchoWave is a browser-based video and audio editor built by Lemon Vault LLC since 2018. The people who build the editor write these guides and test every step in the production app before publishing.
Add subtitles to video: FAQ
How do I add subtitles to a video for free?
Open EchoWave in your browser, upload the clip, and click Auto-Subtitle, upload an SRT file, or type the lines. Correct any words, choose a caption style, and export an MP4 with the subtitles burned in. The editor is free to use; free exports are 720p and carry a small EchoWave badge, which a paid plan removes.
Can I add subtitles to a video automatically?
Yes. Click Auto-Subtitle and the speech in your video becomes timed caption lines, with a timestamp on every word and the language detected for you. Read through the result, fix names or jargon the AI misheard, and export. Auto-Subtitle transcribes speech in 50+ languages, and translation covers 86 on a paid plan.
Can I add subtitles to a video without a watermark?
Yes, on a paid plan. Free exports from the editor carry a small EchoWave badge and are capped at 720p. The Creator plan removes the badge and exports at 1080p, Pro goes to 4K and Ultra to 8K. Everything else about adding subtitles works the same on every plan, so you can caption and preview the whole video before deciding.
How do I add subtitles to a YouTube, TikTok, or Reels video?
Caption the clip in EchoWave, set the canvas to 9:16 for TikTok, Reels and Shorts or 16:9 for a regular YouTube video, and export a burned-in MP4. Upload that file as usual. For a regular YouTube upload you can also add an SRT file in YouTube Studio so viewers can switch captions on and off.
Can I translate subtitles into other languages?
Yes. After the original speech is transcribed, the subtitle translator turns the caption track into another language and keeps the original timing, so you only check the wording. You can also show both languages in the same caption box. Translation is part of a paid plan.
How accurate are auto-generated subtitles?
They are most accurate on clear speech recorded close to the mic. Loud background music, strong accents, overlapping speakers and rare names all add words to correct, as they do for any speech recognition. Every line stays editable, so you fix the few misheard words in place instead of retyping the transcript.
Can I upload my own SRT or VTT file instead?
Yes. Import an SRT or VTT file and every cue lands on the timeline with its original timing. You can then fix typos, shift cues that run early or late, and restyle the text before burning it in. This is the quickest route when a transcriber or a client already gave you the subtitle file.
What video formats are supported?
EchoWave opens MP4, MOV, WebM, MKV and AVI files. Subtitled videos export as a standard MP4 that uploads to YouTube, TikTok, Instagram, Facebook or a website. You can also export WebM, MOV or GIF from the same project on paid plans (WebM on Creator, MOV and GIF on Pro).
Can I edit the auto-generated subtitles?
Yes, every line stays editable. Correct misheard words, names, or jargon, merge two short lines or split a long one, retime cues a few frames either way, and restyle the font, color, size, and position. It is the same editor whether the captions came from Auto-Subtitle, an uploaded SRT, or your own typing.
How do I add subtitles to a video on iPhone or Android?
Open echowave.io in Safari or Chrome on your phone, tap Upload Video, and pick the clip from Photos or your gallery. Tap Auto-Subtitle, fix any words with the keyboard, choose a caption style, and export. The MP4 saves back to your phone, ready to post. There is no app to install.